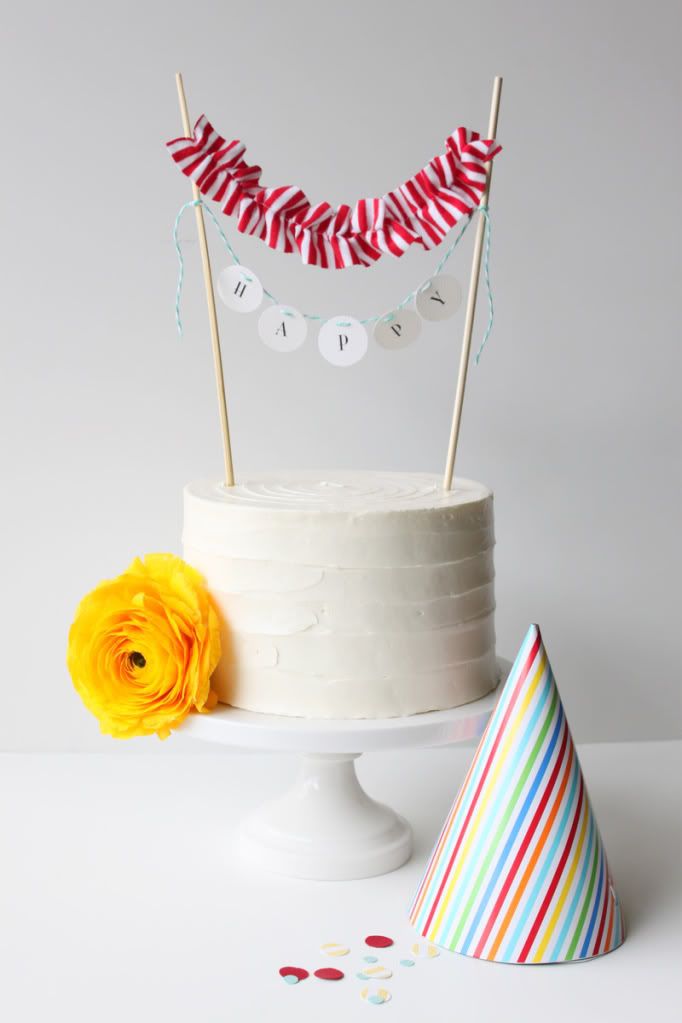
I decided a ruffle cake banner would be a fun little project to share for two reasons.
1. Parties are fun
2. Cake is delicious. Win win.
To begin, sew a simple basting stitch down the center of your fabric strip. My strip was 1.5"x15".
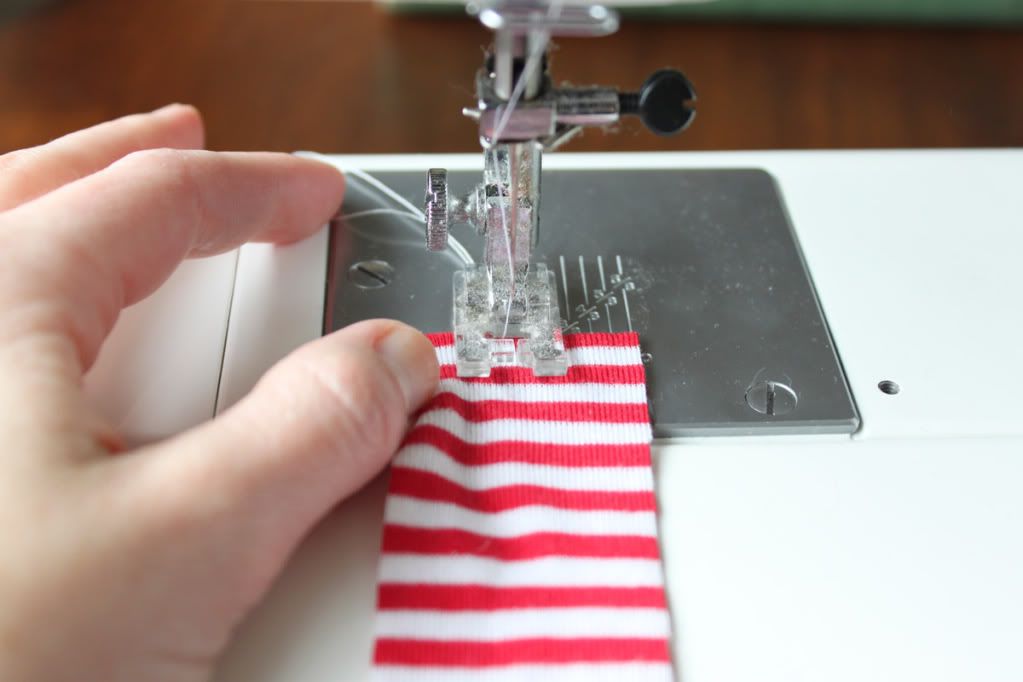
Then, tie the thread at one end of the fabric strip into a knot.
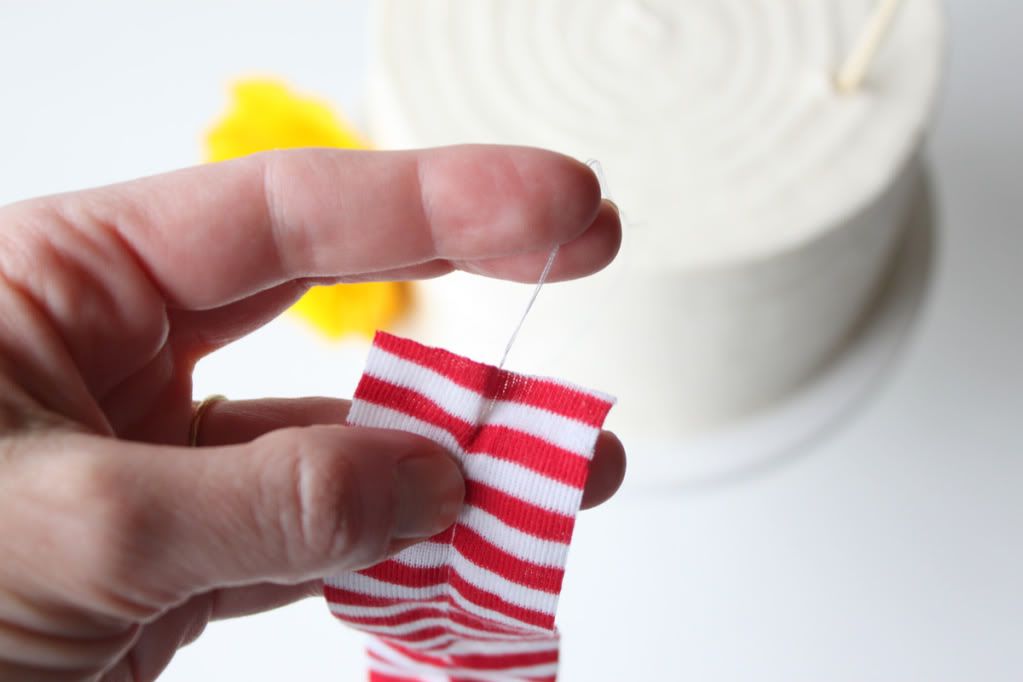
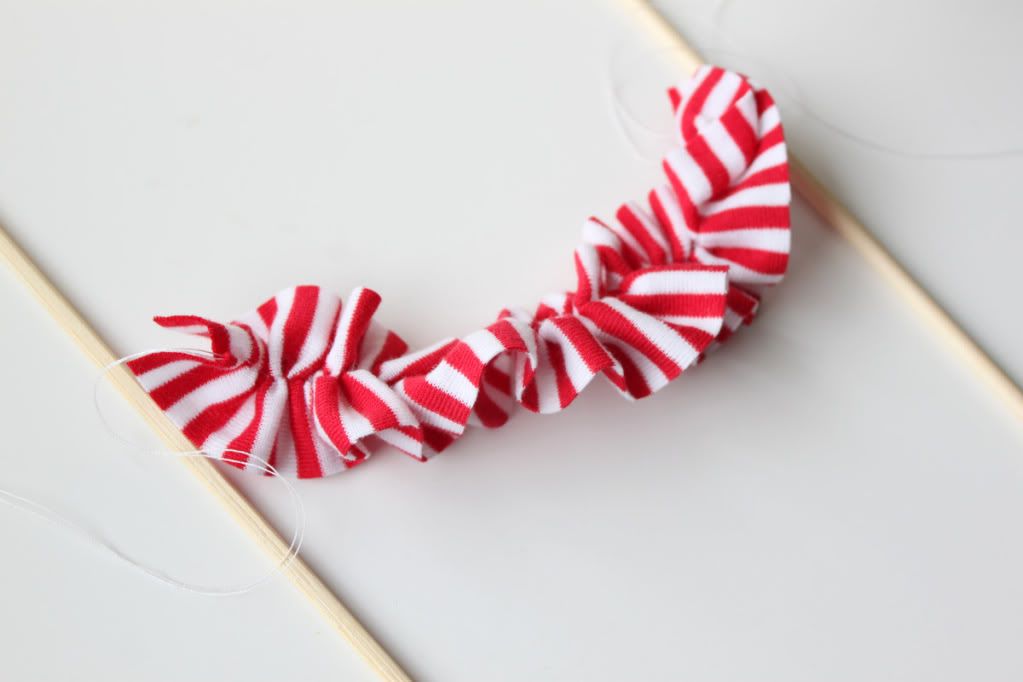
Flip the fabric strip over (to the end that hasn't been knotted), hold one of the two threads in your hand and gently pull, gathering the fabric. When the fabric is gathered to the desired length, tie the two loose threads together.

Use the threads to tie your ruffled fabric banner to two wooden skewers.
Bake a pretty cake, then stick in the wooden skewers. Or, if you're like me and haven't mastered the art that is BUTTER CREAM, find a great local patisserie. My pretty cake came from my friends at The Sisters Patisserie.
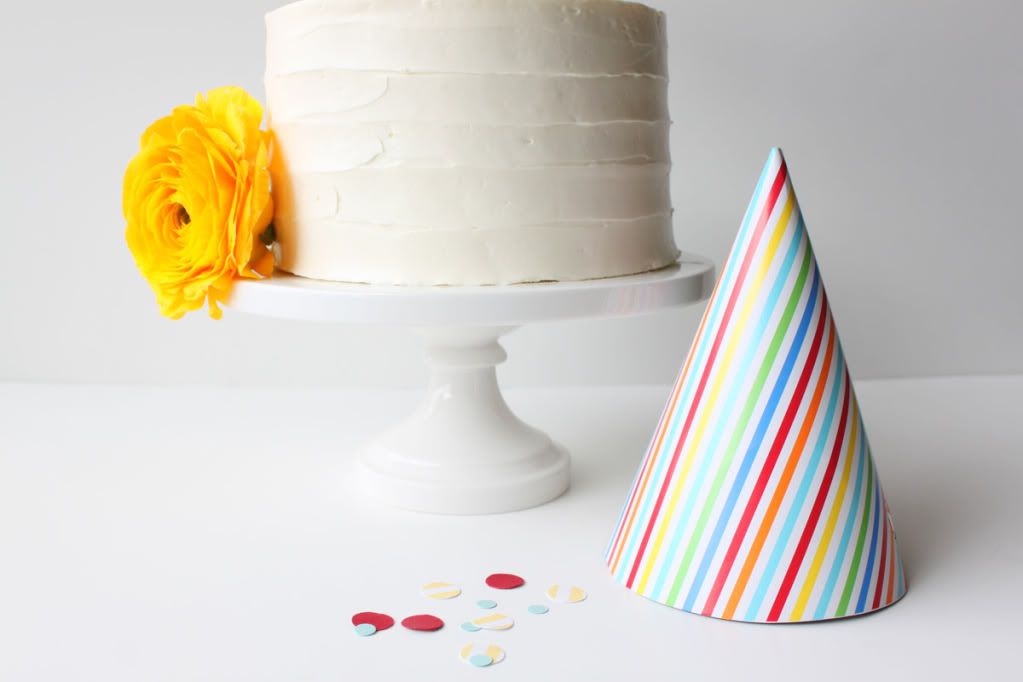
You have to know, as soon as I finished snapping photos the children and I dug into this confection and enjoyed every bite.
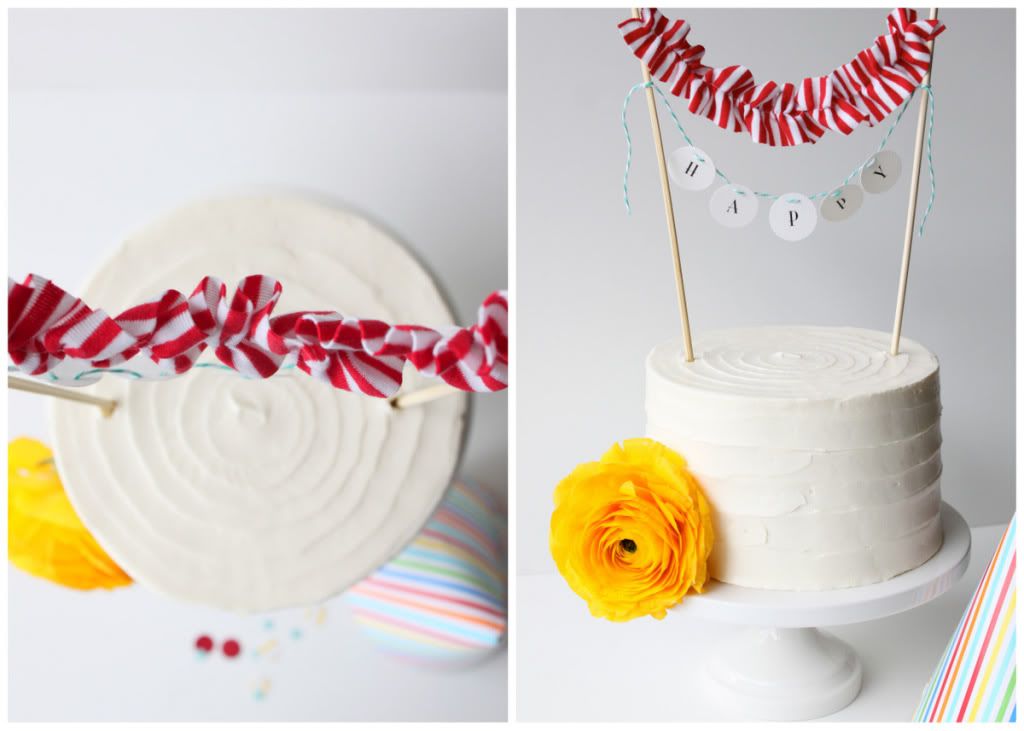
You can also customize your ruffled cake banner by adding a simple letter banner just below. I strung cardstock rounds onto bakers twine to create the "happy" banner. If this were a birthday cake, you could add the birthday boy/girls name, or their age. The possibilities are endless.
Courtesy: Dandee
Thanks for visiting Ilovedielines Studio Blog

No comments:
Post a Comment