Wow it is going to be awhile since I haven't posted anything in here.
I apologize for it.
This year has been great for Ilovedielines Studio, little by little we are getting known outside of the United States!!
I really want to thanks for all your support.
We are introducing a new product. LONG SIZED ADDRESS LABELS!!! and can be customized to any color {according to our color chart}
HOW AWESOME THAT CAN BE!!
You can find it in here right now it is on sale so take advantage of it.
We also have the AZTECA design.
And the Bubble Stripped
We are always running promotions {twice a month}. You should join to our fan page in FACEBOOK to see our offers!
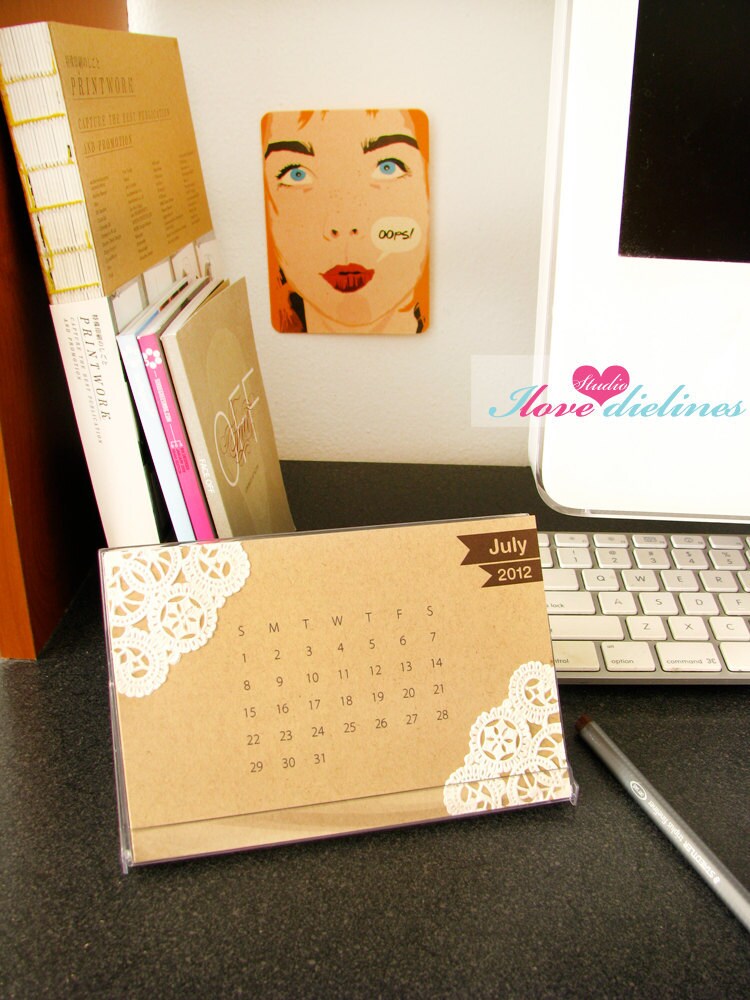
Beautiful Vintage Doily Desk Calendar, right now it is on sale!!!! Don't let this escape from your hands. + 12 cards (each month, each card) + 1 calendar case (as showed) You can buy it in here
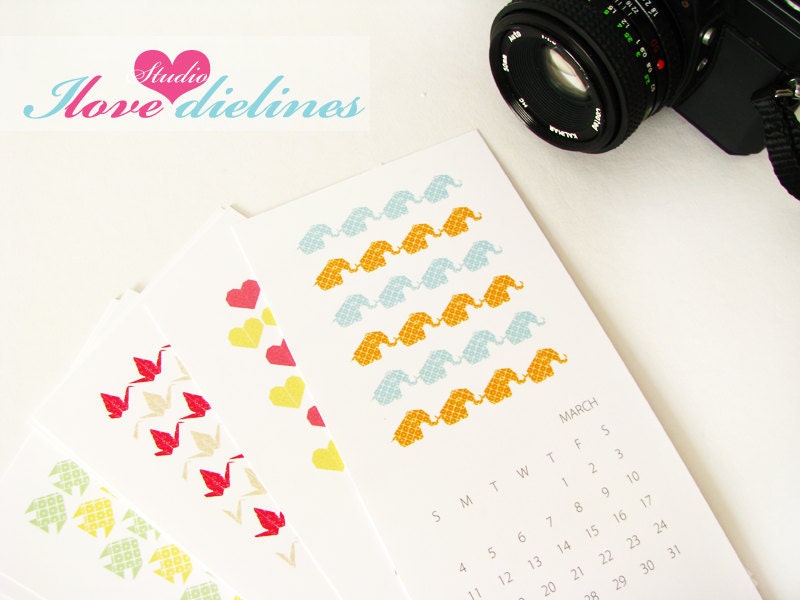
If you are more a crafty person who likes to do your own project, here it is the perfect calendar for you. The Origami Calendar is now available in our shop HERE
Sweet Kate asked if I would participate in her ruffle event and of course I said yes. I loved the challenge! It was fun brainstorming project ideas and putting together this tutorial. If you're visiting today from Kate's blog, welcome! If you're a regular, make sure you hop on over to See Kate Sew. She's got some fun projects I'm sure you'll enjoy.
I decided a ruffle cake banner would be a fun little project to share for two reasons.
1. Parties are fun
2. Cake is delicious. Win win.
To begin, sew a simple basting stitch down the center of your fabric strip. My strip was 1.5"x15".
Then, tie the thread at one end of the fabric strip into a knot.
Flip the fabric strip over (to the end that hasn't been knotted), hold one of the two threads in your hand and gently pull, gathering the fabric. When the fabric is gathered to the desired length, tie the two loose threads together.
Use the threads to tie your ruffled fabric banner to two wooden skewers.
Bake a pretty cake, then stick in the wooden skewers. Or, if you're like me and haven't mastered the art that is BUTTER CREAM, find a great local patisserie. My pretty cake came from my friends at The Sisters Patisserie.
You have to know, as soon as I finished snapping photos the children and I dug into this confection and enjoyed every bite.
You can also customize your ruffled cake banner by adding a simple letter banner just below. I strung cardstock rounds onto bakers twine to create the "happy" banner. If this were a birthday cake, you could add the birthday boy/girls name, or their age. The possibilities are endless.
There just isn’t much anyone who loves paper lace wouldn’t love about this gorgeous 15 inch decorative hanging! Miss Party is loving it!! She can just see a beautiful Inspiration Fabric backdrop, ruffled streamers or big, tissue poms hanging from the ceiling at the corners of the table and then one impressive Ruffled and Glittered Party Decor Hanging in the center so everyone can admire it’s loveliness!
1 (14 in.), 7 (12 in.), 1 (8 or 10 in.), 3 (8 in.), 1 (6 in.) white paper lace doilies
Martha Stewart Crystal Coarse Glitter
Martha Stewart 1 pkg. “Large Layered Doily and Gem Stickers” or other white paper center or diamond embelishments
Glue Dots
Double stick tape
glue stick
scissors
invisible thread or fishing line
Cover your work surface with plastic not paper. Note there is a ‘right side’ and ‘back side’ to each doily, as in fabric. You will want to take care that the you face the ‘right sides’ out on the front of your hanging.
1) Cut out the center of 3 (12 in.) doilies (leaving 1 inch of the solid paper center with the lace section) as the picture shows.
2) Run a 3 inch strip of double stick tape or use your glue stick just at the bottom of the 14 in lace doily border. Attach the ‘right side’ of the lace circle strip to the ‘back side’ of a 14 in. doily, (shift the lace strip so that it will extend past the outer edge of the 14 inch doily by a 1/2 inch or so); make a gathering fold every 2 inches or so. (See picture for visual.) Continue gluing and gathering the lace strip working around the circle. Add on the second and third lace strips as needed to finish the circle.
3) Finish off the ‘back side’ of the ruffled edge by attaching an 10″ or 8″ doily with double stick tape or glue stick.
4) Turn the 14 inch doily over to the ‘right side’. Repeat steps 1 and 2 to add another ruffled layer and flat layer. Use 3 (12 in.) doilies for the ruffled strips, and 1 (8 in.) doily for the flat layer.
5) Repeat steps 1 and 2 one more time with 3 (8 in.) doilies for the ruffled strips. When you get to the final flat doily, use 1 (6 in.) doily. Over a piece of scrap paper, completely cover the ‘right side’ of the 6″doily with glue stick glue, sprinkle glitter over the entire surface of the doily. Pat the glitter down on the doily to be sure it has adhered, shake off excess. Use glue dots to gently attach the glittered doily to the center of the hanging.
6) The final touch is the center paper sticker or other rhinestone center of your choice. Or you could choose not to add anything further.
7) Thread a 10 foot piece of invisible thread through largest doily cut out, catching several doilies if possible. Tie off the ends. Hang from the ceiling where desired.
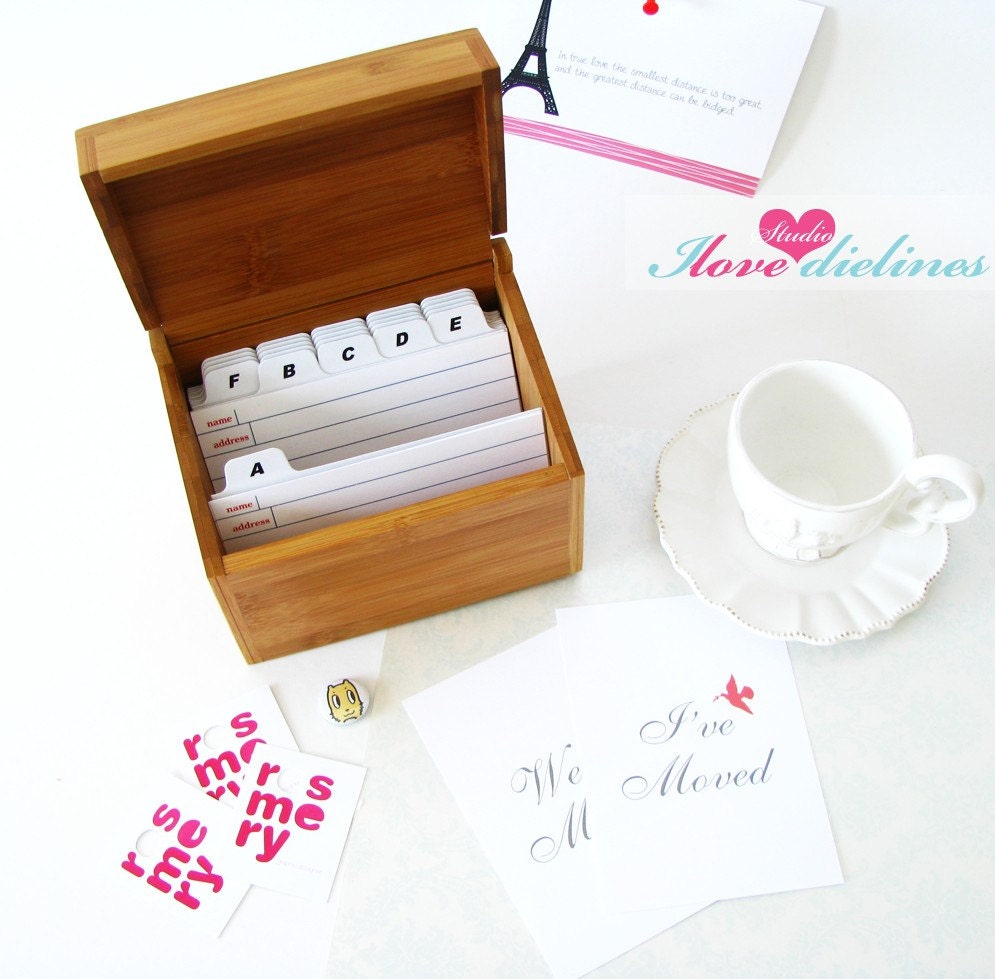
Beauty on your desk!. We have lots of contacts, lots of business cards plus extra info of your clients/friends/co-workers and it is hard to maintain everything organized. Pull it up and stand it up on the tap/lid and start making calls. Whether you like to write all your friends info down, or attach easily business card on the address card file.
This Address Card File With Box made of Soft Bamboo will make your life easier. It is environmentally friendly super trendy item to have on your desk, even better has a cover/lid/tap to cover and don't let dust come inside and have always a clean Address Card Files.
Included with the set: Bamboo--> Box size: 6.75 inches W x 4.75 inches D x 4.875 inches H
Comes 75 address cards and 25 tabs (A,B,C,D,E,F,G,H,I,J,K,L,MC,M,N,O,P,Q,R,S,T,U,V,W,XYZ) As your contacts change, simply pull out their card, and create a new one. Thank you very much for receiving this new item with love.
I am not what you would call a hopeless romantic; I don’t swoon over getting flowers or eating dinner by candlelight, although I wouldn’t complain if you threw in some chocolate covered strawberries! However, I am hopelessly devoted to food.
I am always trying to celebrate the holidays by finding new and creative ways to love and cherish the foods that coincide with that time of year. Since February is the month of love and chocolate, I knew I had to come up with a sensual dessert that was both beautiful and incredibly delicious. With a free morning on my hands, I decided to create my idea of the perfect dessert. Chocolate cupcakes with strawberry infused buttercream finishes with a luscious chocolate covered strawberry. Are you drooling yet?
When conceptualizing these cupcakes, I knew that I wanted to highlight chocolate covered strawberries because they are the quintessential Valentine’s Day treat. As I headed into the kitchen to begin baking, I realized I was out of cocoa powder and due to the fact that it was 8am, I was rocking sweats, and had not a stitch of makeup on, I decided to make do with what I had on hand.
After checking out my baking stash, I realized I had all the ingredients to my favorite doctored up cake mix recipe, so I rolled with it! I then whipped together my go to buttercream recipe and infused it with fresh strawberry puree, the results were amazing and tasted like strawberry ice cream!
It gets better… I then topped these already incredible delicious cupcakes with decadent chocolate covered strawberries to add a little creativity and a touch of elegance. If you have no idea what to make your sweetie for Valentine’s Day, I’m thinking these Chocolate Covered Strawberry Cupcakes just may be the winning recipe! Have a delicious Valentine’s Day!
For the Cupcakes
Ingredients 1 (18.25 ounce) package devil’s food cake mix 1 (5.9 ounce) package instant chocolate pudding mix 1 cup sour cream 1 cup vegetable oil 4 eggs, lightly beaten 2 teaspoons pure vanilla extract 1/2 cup warm water
Directions 1. Preheat oven to 350 degrees F. Line muffin tin with paper liners or spray with non-stick cooking spray. 2. In the bowl of a stand mixer, fitted with the paddle attachment, or with a hand mixer in a large bowl, beat together the cake and pudding mixes, sour cream, oil, eggs, vanilla and water. Beat for about two minutes on medium speed until well combined. 3. Using a large cookie scoop, distribute the batter between 24 muffin wells; about 3 tablespoons of batter per well. 4. Bake in preheated oven for 18-22 minutes or until a toothpick entered into the center of a cupcake comes out clean. Allow cupcakes to cool inside muffin tins for about 10 minutes. 5. Remove cupcakes from muffin tins and allow to fully cool on a wire rack. Once cupcakes are cool, prepare your frosting.
For the buttercream frosting
Ingredients 3 sticks unsalted butter, softened pinch of fine grain sea salt 1 tablespoon vanilla extract 2 pounds confectioners’ sugar, sifted 6 ounces strawberries, pureed 4-6 tablespoons heavy cream
Directions 1. In the bowl of a stand mixer, fitted with the paddle attachment, or with a hand mixer in a large bowl, cream butter on medium speed until fluffy. Turn your mixer down to low speed and slowly add in the confectioner’s sugar, and continue mixing until well blended. 2. Add salt, vanilla, 3 tablespoons of heavy cream and strawberry puree. Blend on low speed until moistened. Add an additional 1 to 3 tablespoons of heavy cream until you reach the desired consistency. Beat at high speed until frosting is smooth and fluffy 3. Pipe frosting onto cooled cupcakes and finish with a chocolate covered strawberry.
Notes -Frosting was piped onto cupcakes using the large round tip from Bake It Pretty. -Find a simple recipe for chocolate covered strawberries here.
Storage Cupcake will store in a sealed container within the refrigerator for two days.
This past Summer when I began working on projects for Gifted Magazine I discovered that coffee filters are an awesome multi-purpose crafting supply (I guess I kind of already suspected as much, but anyhow). As with a lot of the projects I make, I start with a simple object (such as coffee filters) and just begin messing around with it until it starts to become something. Usually this results in a giant pile of not-so-cute, destined for the graveyard of d.i.y. fails. But every once in a while something takes shape that I like. Martha Stewart has busted out countless projects using cupcake liners (like these Hanging Ball Decorations and Cupcake Paper Carnation Gift Toppers), and coffee filters seemed just like giant cupcake liners to me (therefore just as easy to use). I ended up folding, punching and stacking a bunch together and created a fun Hanging Pom Pom (perfect for party decor) and a Ruffled Gift Topper (you can also use it as wall decor - see the last image). Have fun!
Here's how to make 'em:
Supplies: Coffee filters in either natural or white (12-18 per topper | 24-32 per hanging pom pom), Large metal brads a.k.a. brass fasteners (I purchased mine at Office Depot), 1/8" Hole Punch Tool, twine (optional), ornament or small object for center of gift topper (optional).
Step 1: Fold filters (one at a time) in half.
Step 2: Fold in half again (repeat for all).
Step 3: Punch a hole in the corner of each folded filter.
Step 4: Insert your brad through the punched hole.
Step 5: Add prepared filters to the brad - stacking behind your first filter. Take care to keep the folded edge of your filters facing the same direction.
Step 6: As you add filters onto your brad you will begin to fan each one out. Don't worry about it looking perfect at this point.
Step 7: Once your brad is full, turn over and open the brad to secure.
Step 8: Move the filters around (they will rotate fairly easily) until the desired shape/fullness is achieved. If you will be using as a gift topper (or whatever other use you dream up) you can stop at this point.
If you would like to make a round pom pom (like the hanging one shown above) you will attach two completed filter pom poms together on the back using a piece of twine or hot glue. Hang with twine.
Hang two together to make some fab hanging decor. Perfect for your next party.
Dress up the middle of your gift topper with an ornament (seen in the first image) or a pretty disk of paper printed with a special message or addressed to the lucky gift recipient.


